
Preparing castings for paint: adhesion starts before the blast
Most coating failures on castings start at the surface, not with the paint. This guide explains how to specify the right ISO 8501-1 cleanliness grade, control the anchor profile, choose steel shot or grit, and size a blast machine to real throughput.
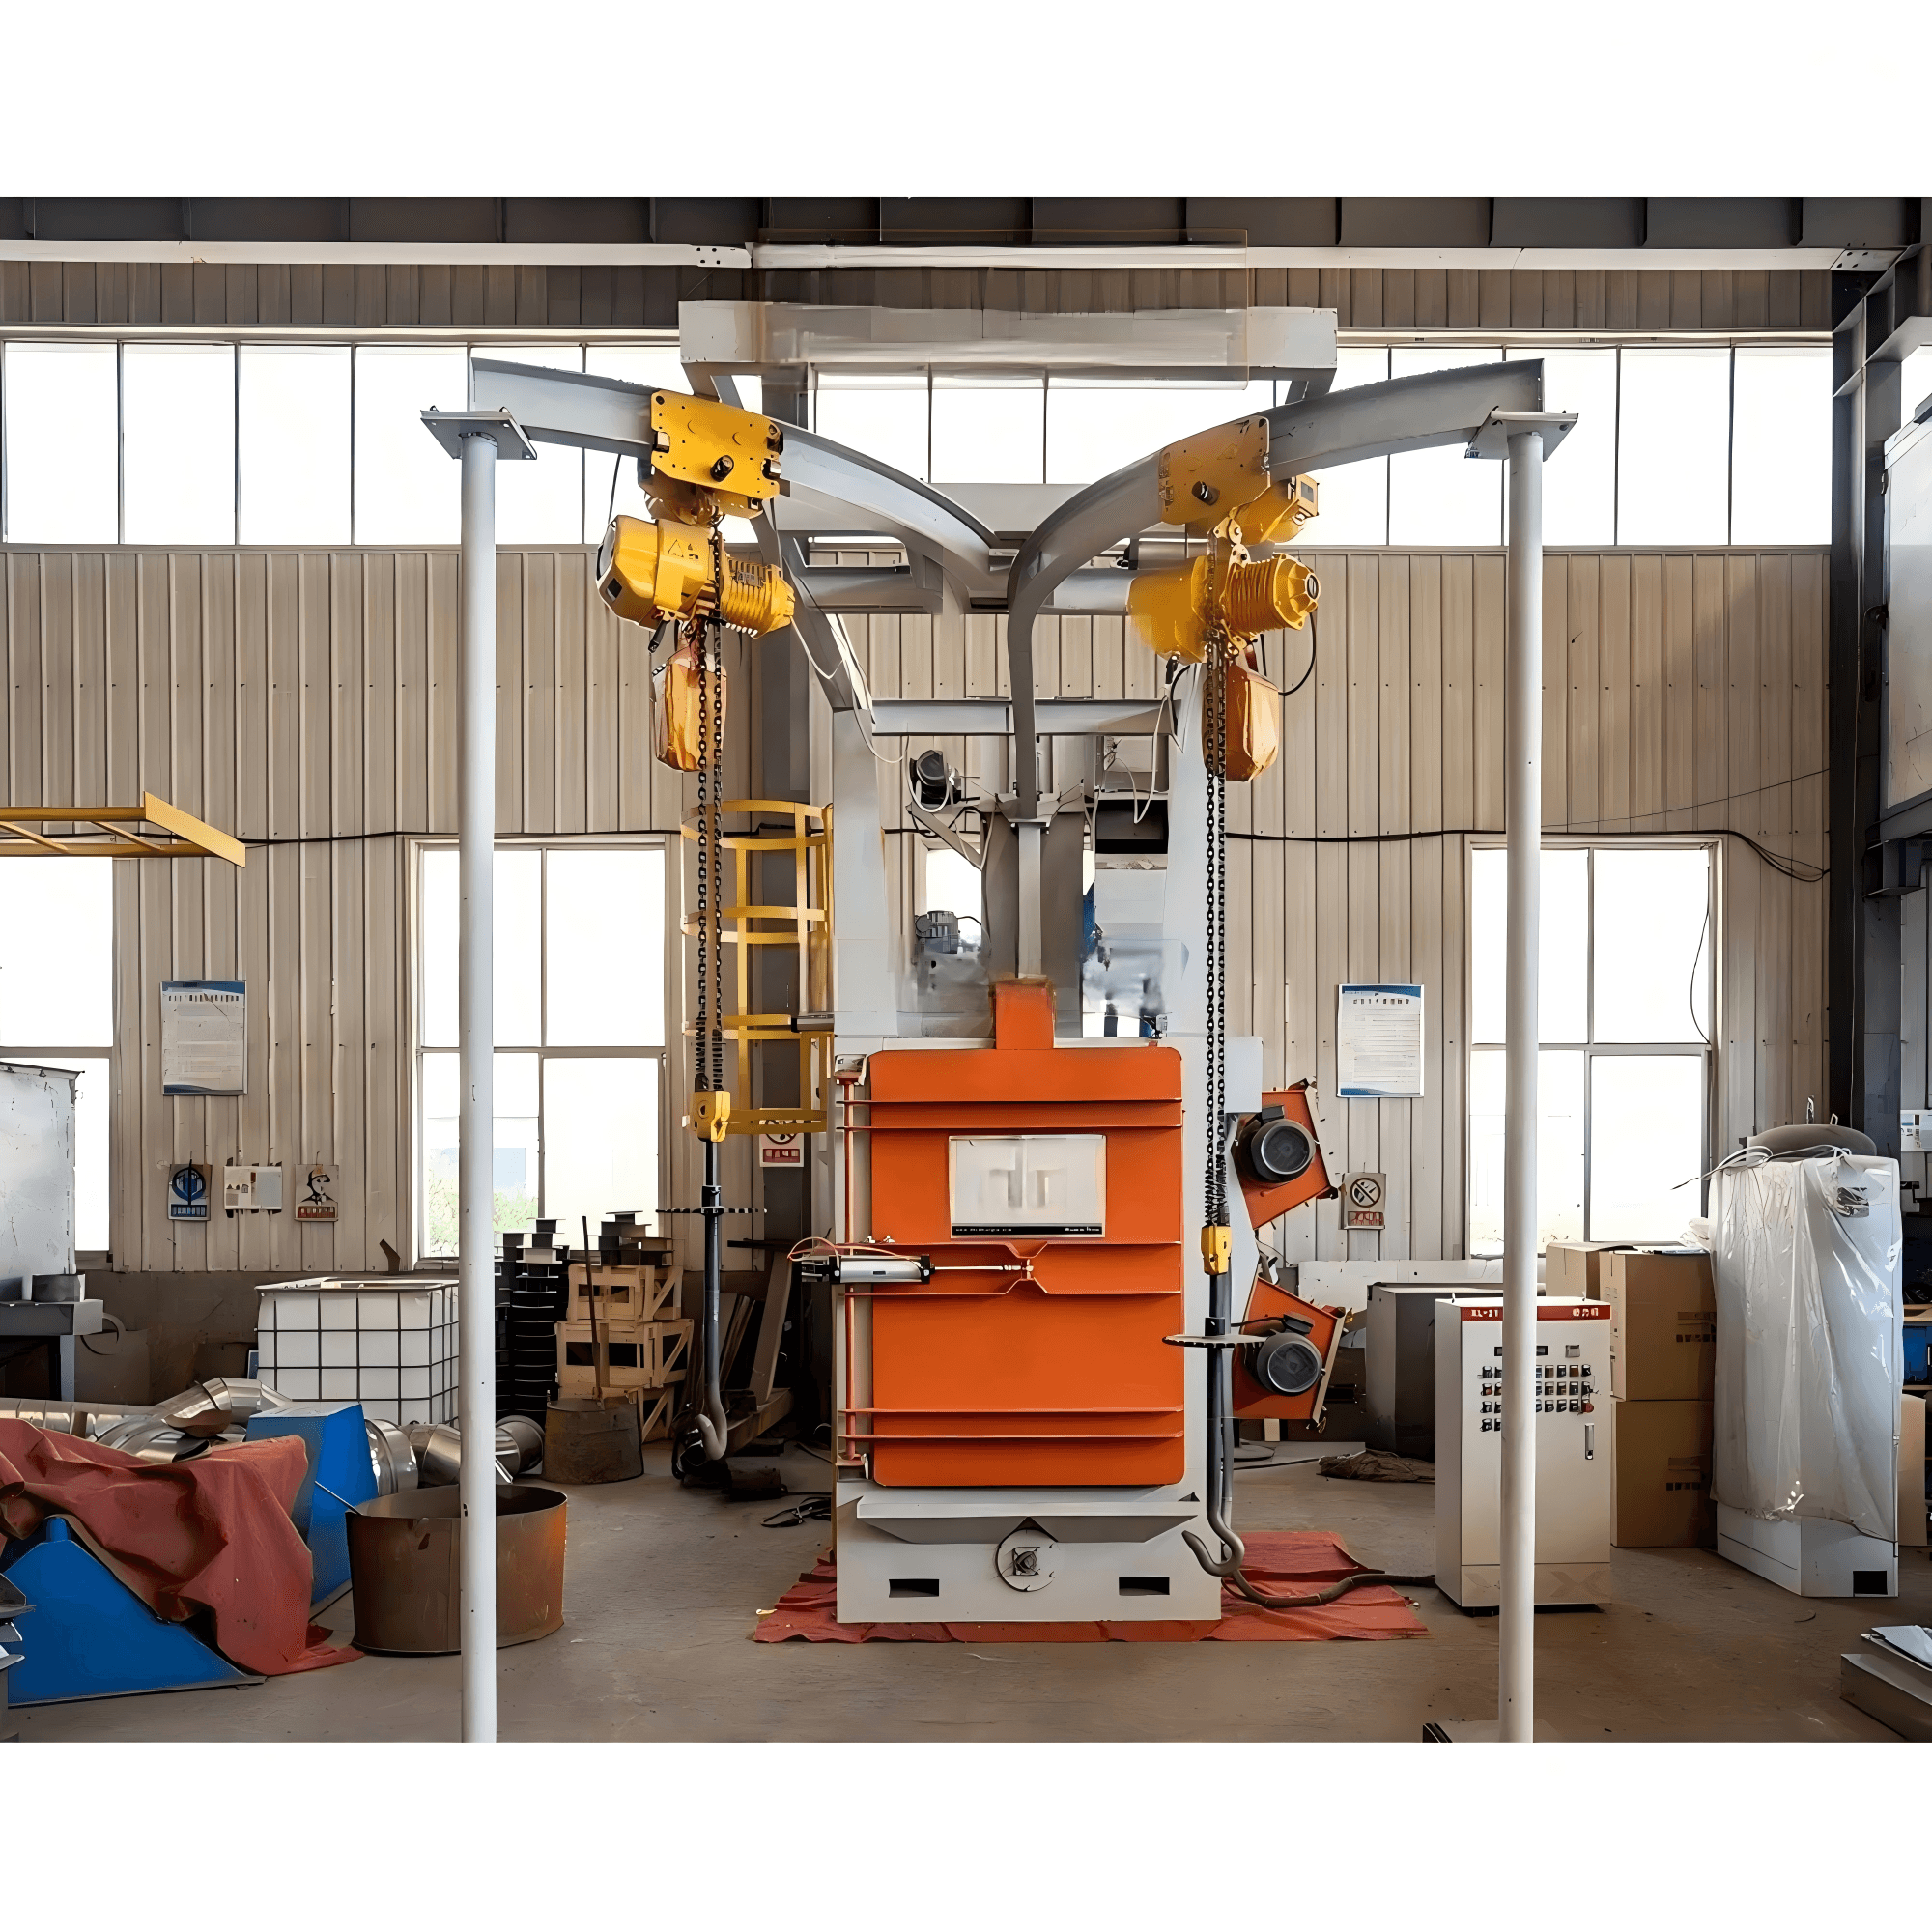
Why coatings fail on castings before they see weather
A casting leaves the mold carrying burn-on sand, core residue, scale, and a variable "casting skin" that no drawing ever shows. Paint applied over that interface bonds to loose material, not to metal. When the coating later blisters or flakes, the instinct is to blame the paint — yet the failure was decided earlier, at the surface.
On castings, most early coating failures trace to three causes: the blast was incomplete, the part re-rusted before it was primed, or contamination was introduced after blasting. None is visible to a casual eye, and all survive a "looks clean" inspection. The most deceptive is soluble salt. Chlorides and sulfates are not removed by blasting — they can even be driven deeper into the profile — and once trapped under the film they draw moisture osmotically, building enough pressure to lift the coating within two or three years.
Specifying the cleanliness grade and anchor profile
Surface preparation for coating is graded under ISO 8501-1, from Sa 1 (light) through Sa 2 (thorough) to Sa 2.5 (very thorough, near-white metal) and Sa 3 (white metal). For most industrial systems, including zinc-rich primers, Sa 2.5 is the practical target. Equivalent to SSPC-SP 10 / NACE No. 2, it leaves roughly 95 percent of the surface free of visible contaminant, with only faint shadows remaining.
One point surprises buyers: the grade is a visual judgment. Surface profile, dust level, and soluble-salt content are measured separately, under ISO 8503 and ISO 8502. A part can pass the visual grade and still carry a profile wrong for the coating, or salt that will destroy the bond from underneath.
The anchor profile is the texture the coating grips. Too smooth and adhesion suffers; too deep and the coating cannot cover the peaks at the specified dry-film thickness, leaving sharp tips exposed to corrosion. For typical epoxy systems, S230 or S280 steel shot produces a profile around 25 to 40 micrometers at Sa 2.5 — the range where adhesion is strong without over-blasting.
Choosing the abrasive: shot, grit, or a blend
Steel shot is spherical. It peens the surface, leaves a smooth, dimpled finish, and is the workhorse for removing sand and scale from castings. Its rounded shape also gives long life in a recovery system — often 1,000 to 2,000 cycles or more, with sizes such as S330 through S460.
Steel grit is angular and cuts aggressively. It generates a rougher anchor profile and the strongest mechanical key for paint, at the cost of shorter life — typically 500 to 1,500 cycles, in sizes such as G25 and G40.
For castings the rule is simple: use shot where the job is cleaning and descaling, use grit when the coating system demands a deep profile, and use a shot-grit blend when you need both speed and profile in one pass. The separator then becomes the real quality control. A stable working mix matters more than the headline media size, because broken particles and fines that are not removed produce an uneven finish and push dust load upward.
One rule is non-negotiable: never use iron-bearing abrasive on stainless steel or non-ferrous castings. Embedded iron particles rust within days and defeat the material's corrosion resistance; for those substrates, switch to mineral media.
Sizing the machine and preventing failure
Throughput is a simple ratio that is easy to size wrong. Required capacity in kilograms per hour equals the shift load divided by the effective blasting hours. The mistake is sizing to the daily average. Size to the peak bottleneck — the hour when the shakeout dumps your heaviest parts while a previous batch is still in the machine — and add a 15 to 20 percent margin.
A tumble-belt example makes it concrete. A 300 kilogram batch that needs 8 minutes of blast plus 2 minutes loading and 2 minutes unloading runs a 12-minute cycle, giving roughly 1,500 kilograms per hour. A monorail hanger line is slower per piece, often 6 to 10 minutes each, because the part must be presented to the stream from every side.
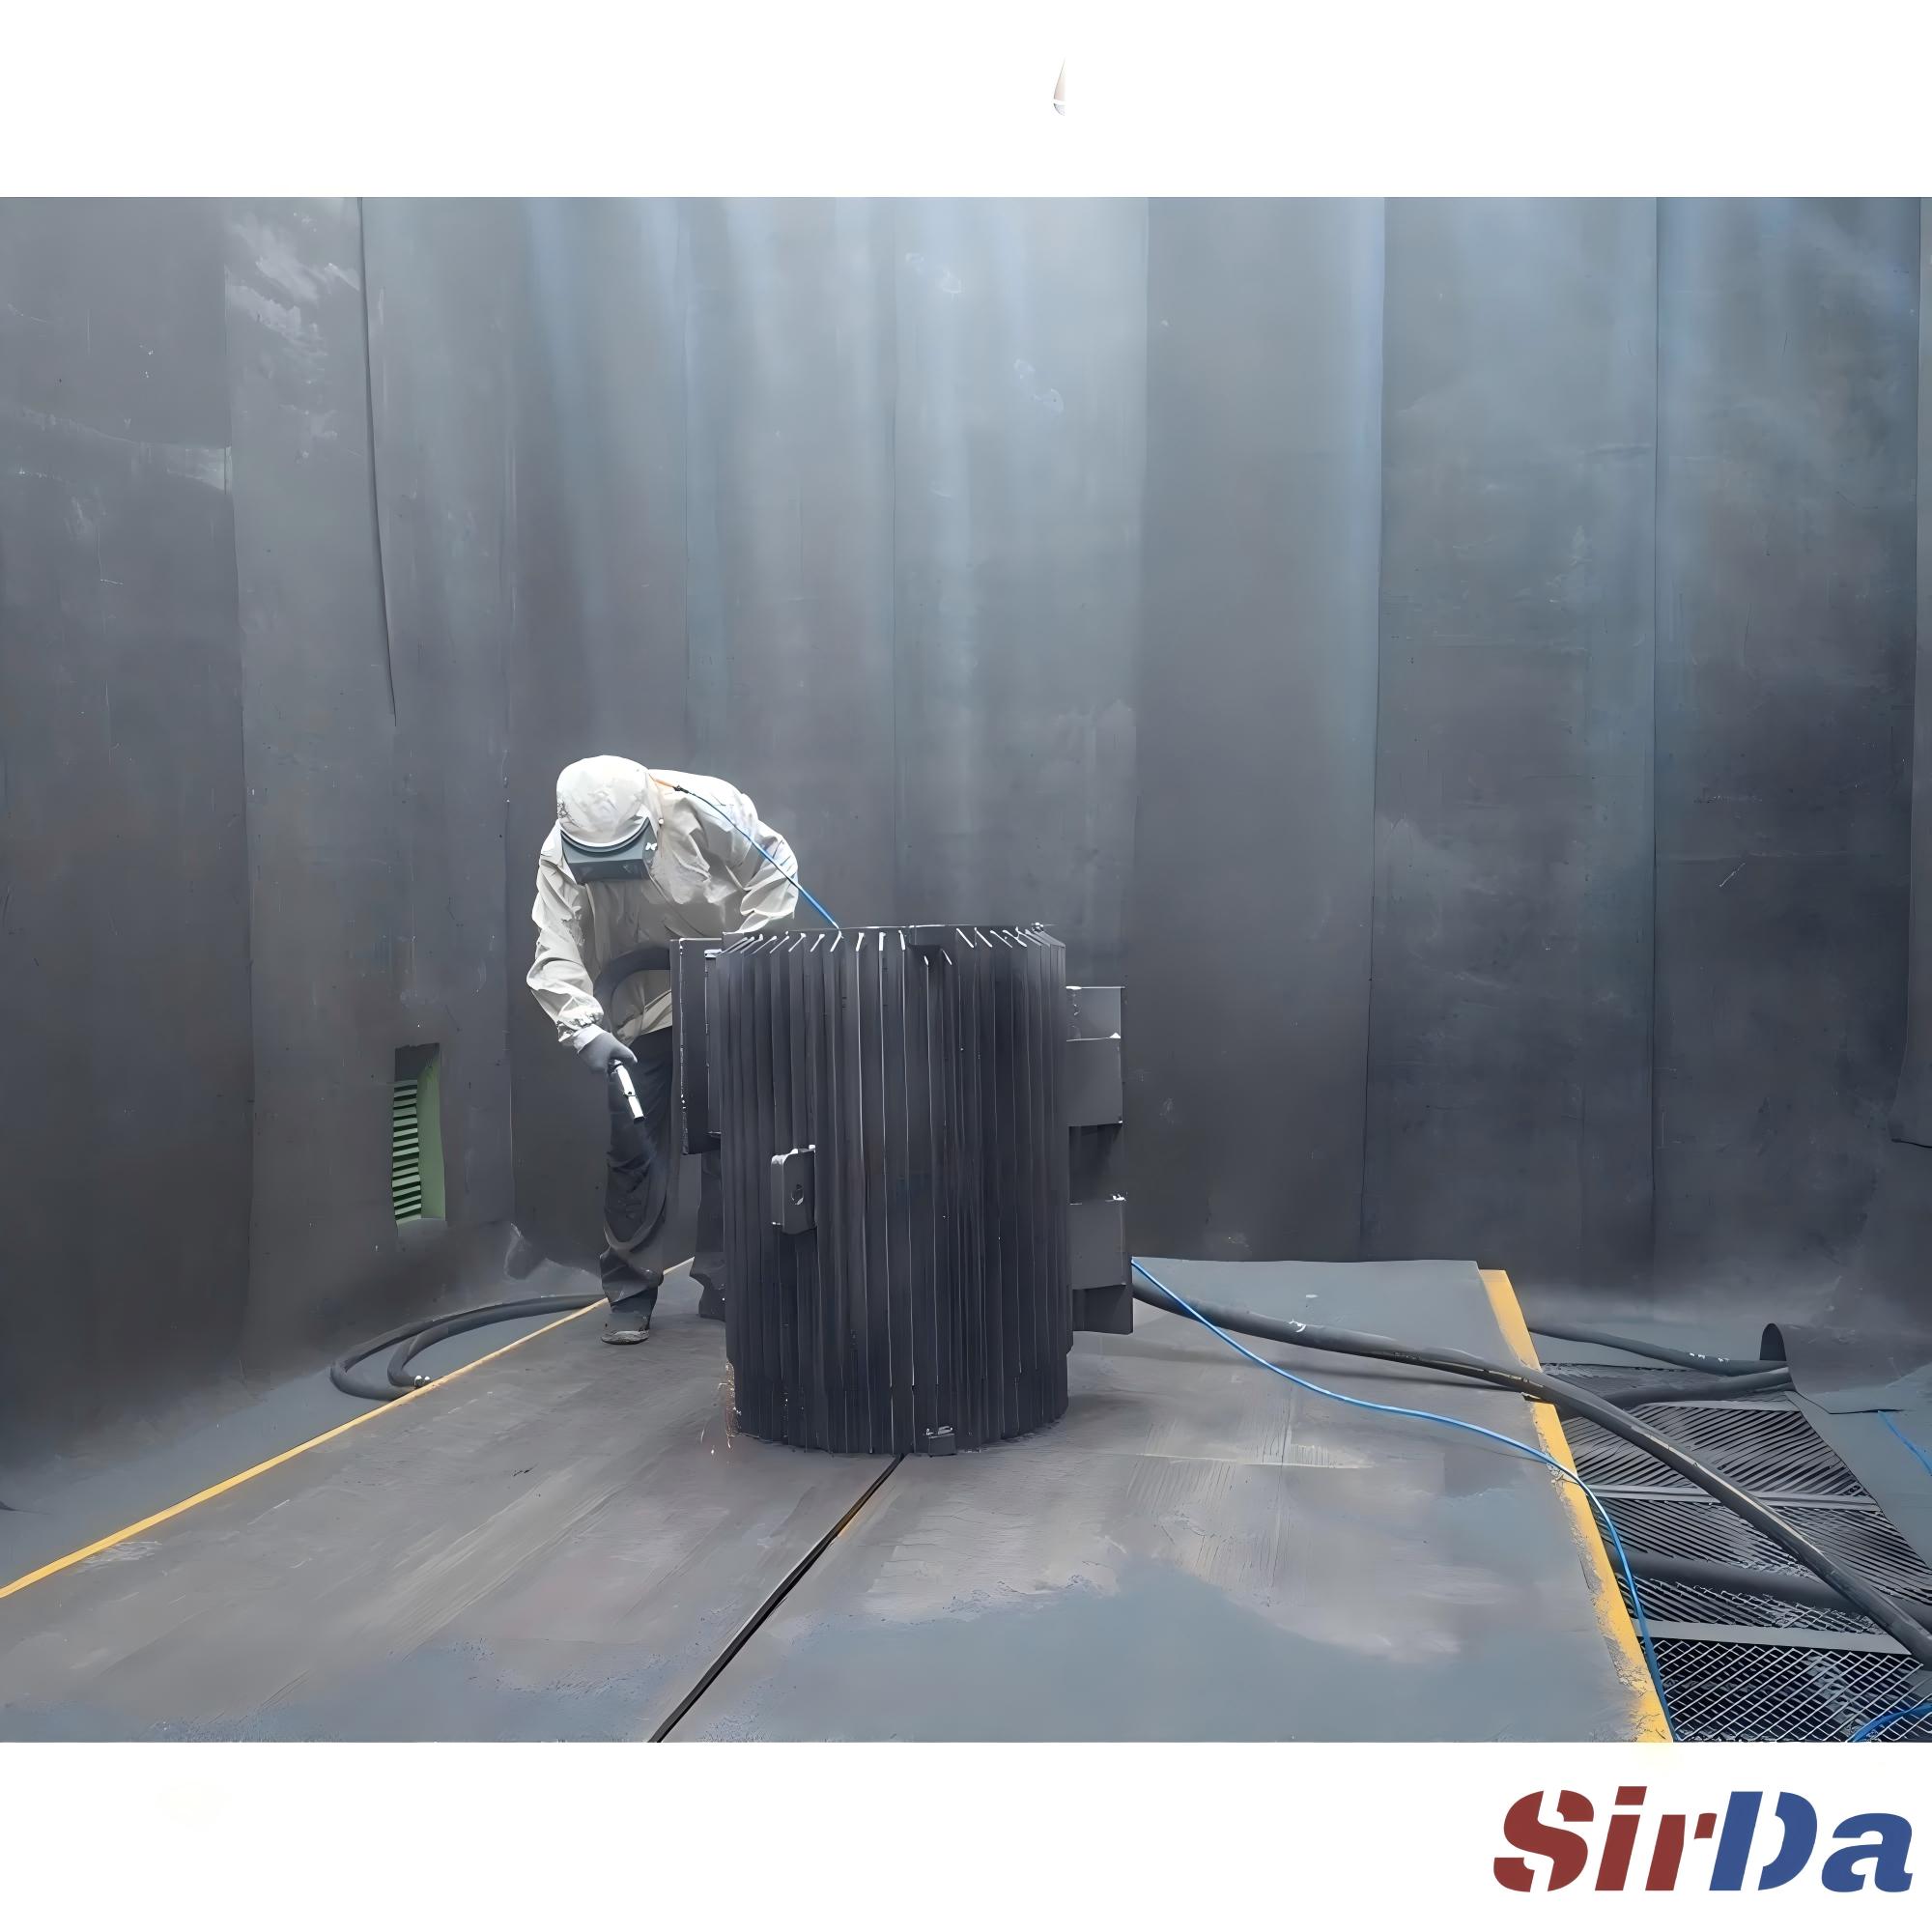
Blast wheels do the work: typically 2 to 8 wheels at 7.5 to 22 kilowatts each, throwing media at 150 to 300 kilograms per minute per wheel. Wheel placement and angle matter more than raw count — four well-aimed wheels beat six poorly placed ones. Modern lines vary wheel speed and media flow per batch from the control panel, so switching between a light bracket and a heavy housing needs no mechanical changeover.
The dust collector is not an accessory. Sized to air volume, commonly 5,000 to 80,000 cubic meters per hour, with cartridge or bag filters holding residual dust below 20 milligrams per cubic meter, it protects visibility, compliance, and abrasive recovery at once. Close the loop on timing: prime within the specified window — often just hours in humid or coastal air — keep the surface at least 3 degrees Celsius above the dew point, and treat any flash rust before priming as a failure, not a mark.
- Embedded abrasive — magnetic separation or vacuum after the blast keeps shot from lodging in recesses.
- Profile too deep — drop to a smaller media size or lower wheel speed; a deep profile simply wastes paint on uncovered peaks.
- Oil contamination — alkaline degrease before blasting; oil blocks both mechanical and chemical bonding.
- Soluble salts — verify with the Bresle patch method (ISO 8502-6/9) and wash to the threshold before priming.
- Flash rust — apply primer inside the window, or use a volatile-corrosion-inhibitor film for transit.
- Separator neglect — a contaminated working mix is the silent cause of uneven finish across shifts.
Coating adhesion on a casting is won or lost at the blast, not at the primer. Specify the grade, control the profile, choose the abrasive for the substrate, and respect the timing — then the paint does the easy part. When you match a machine to your casting mix, start from the part geometry and the peak hour, not from a catalog horsepower number.