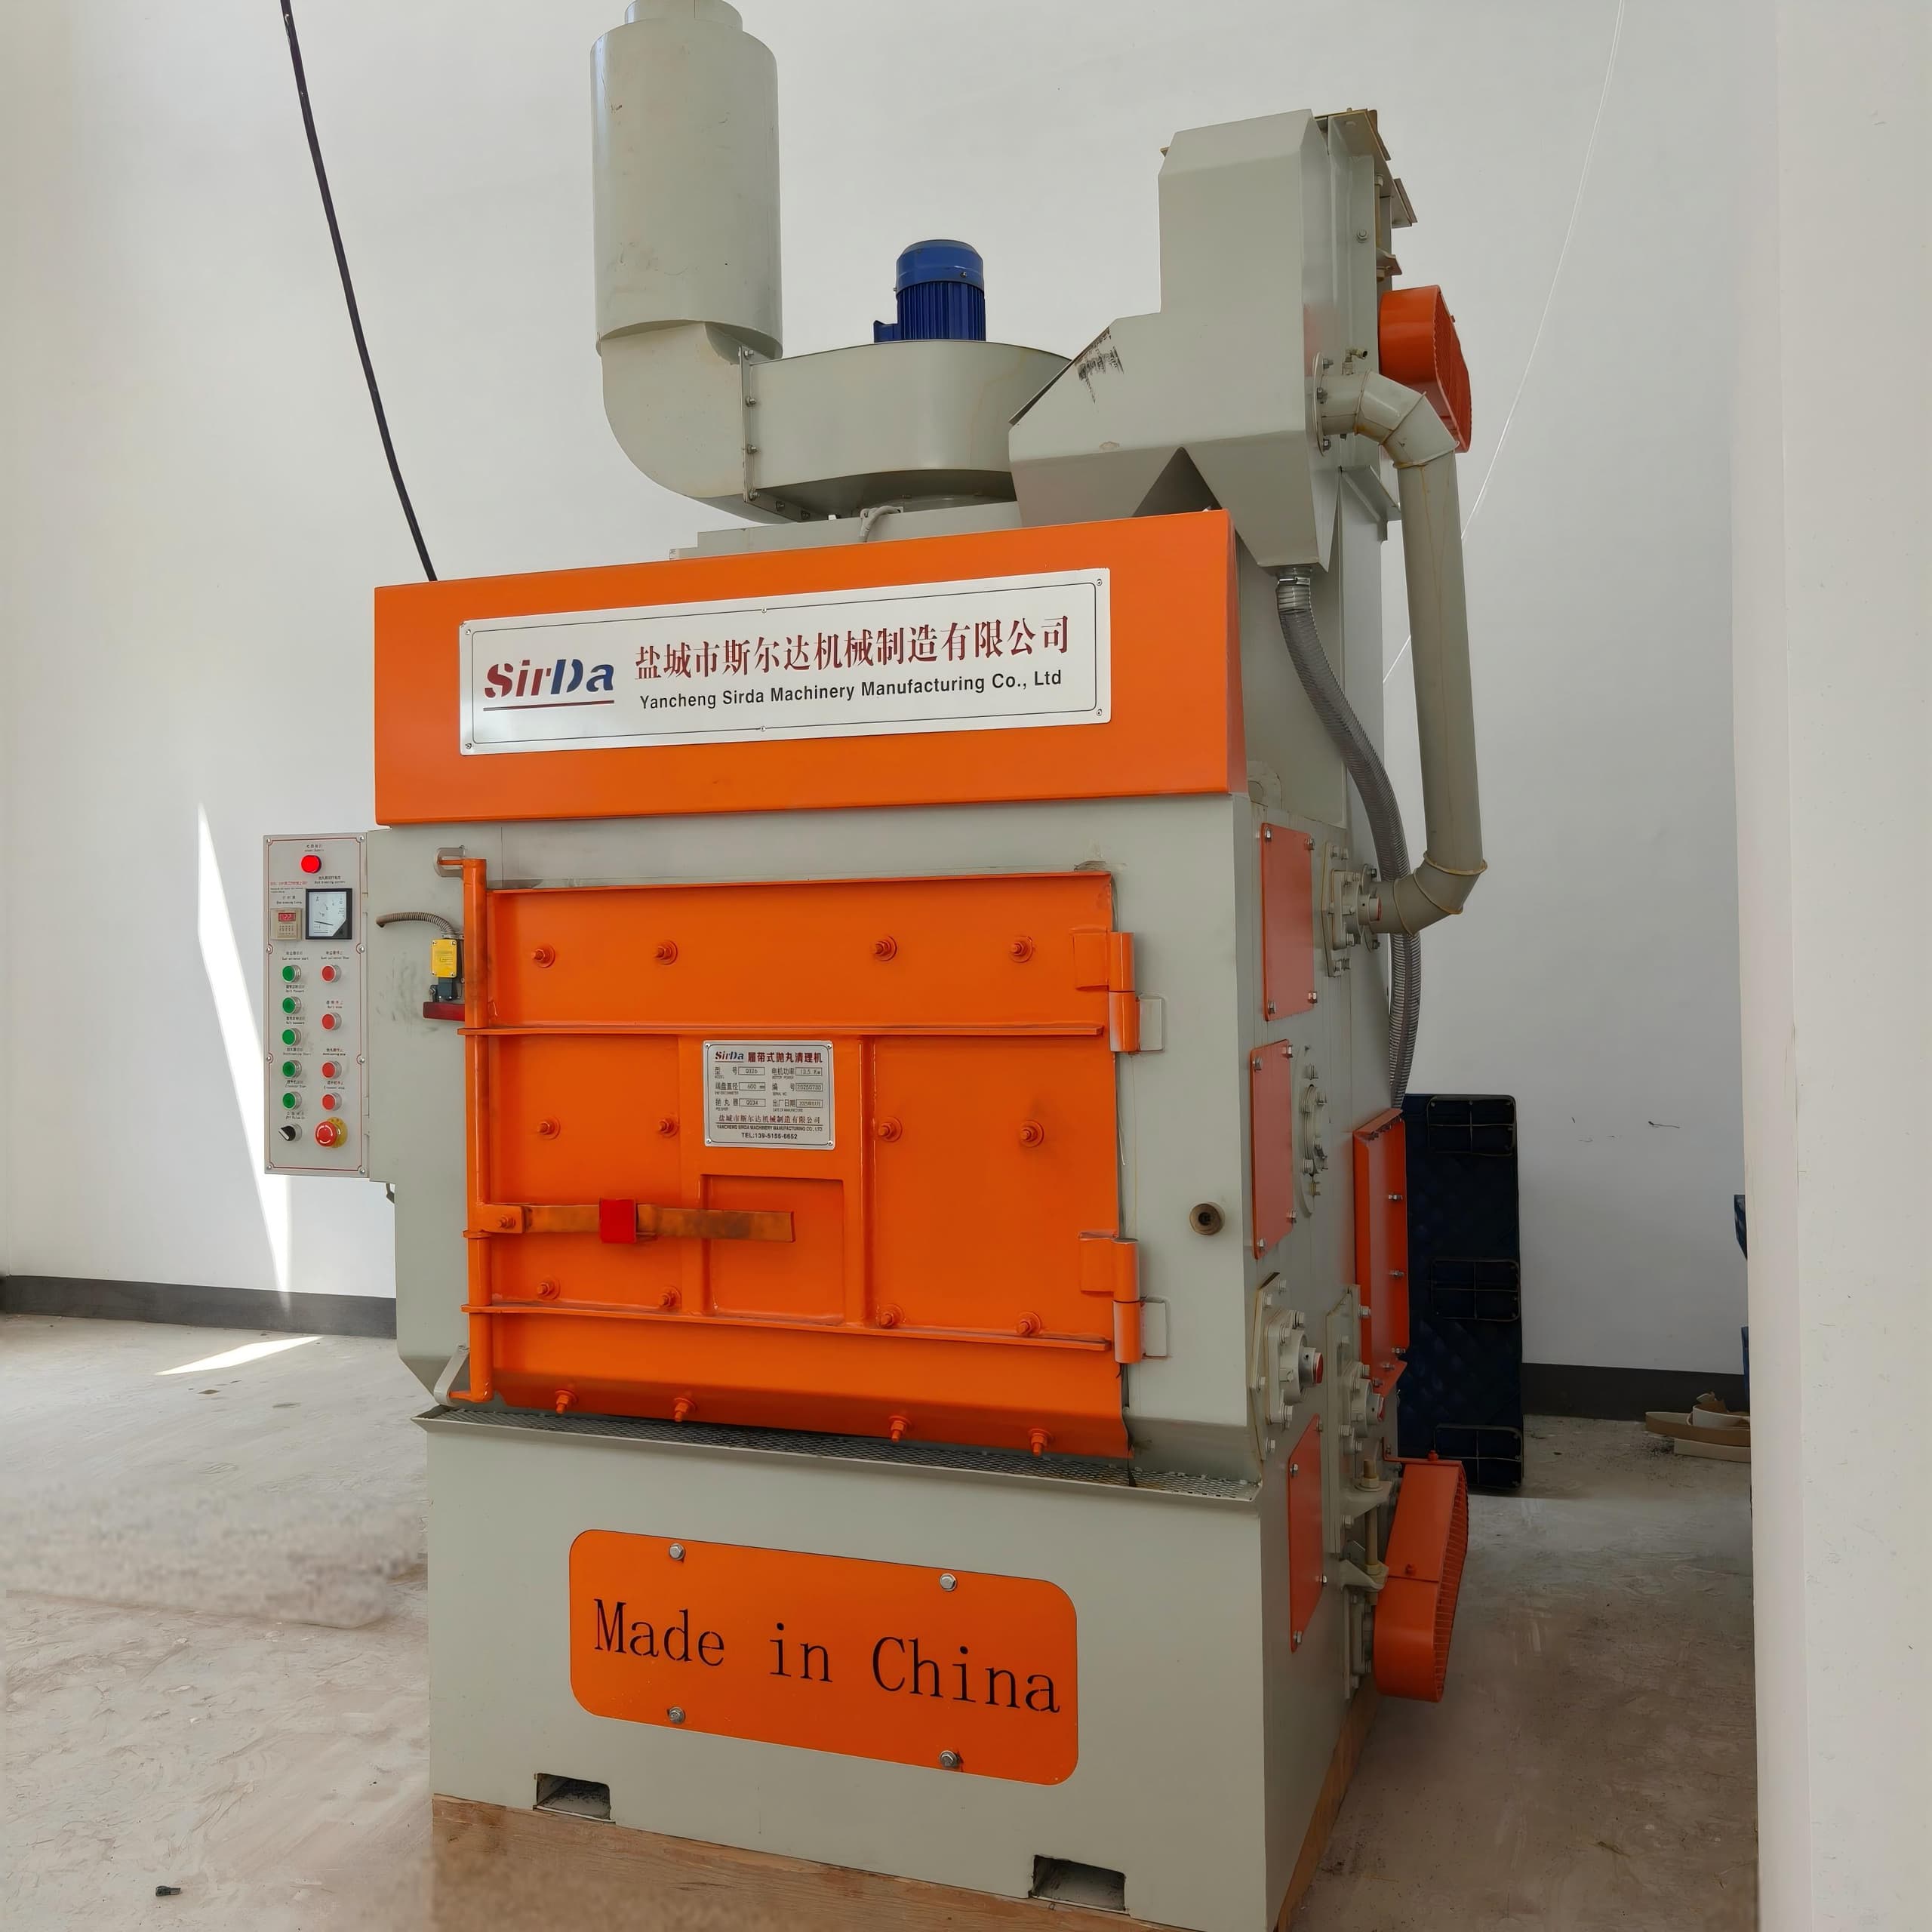
Spare parts to stock before your machine ships
Spare parts rarely get planned until a blade set fails on a Saturday. This buying guide covers which blast wheel components and reclaim parts actually drive uptime, how to size a first kit from your duty cycle and media choice, and the receiving-day drill that proves everything fits before commissioning.
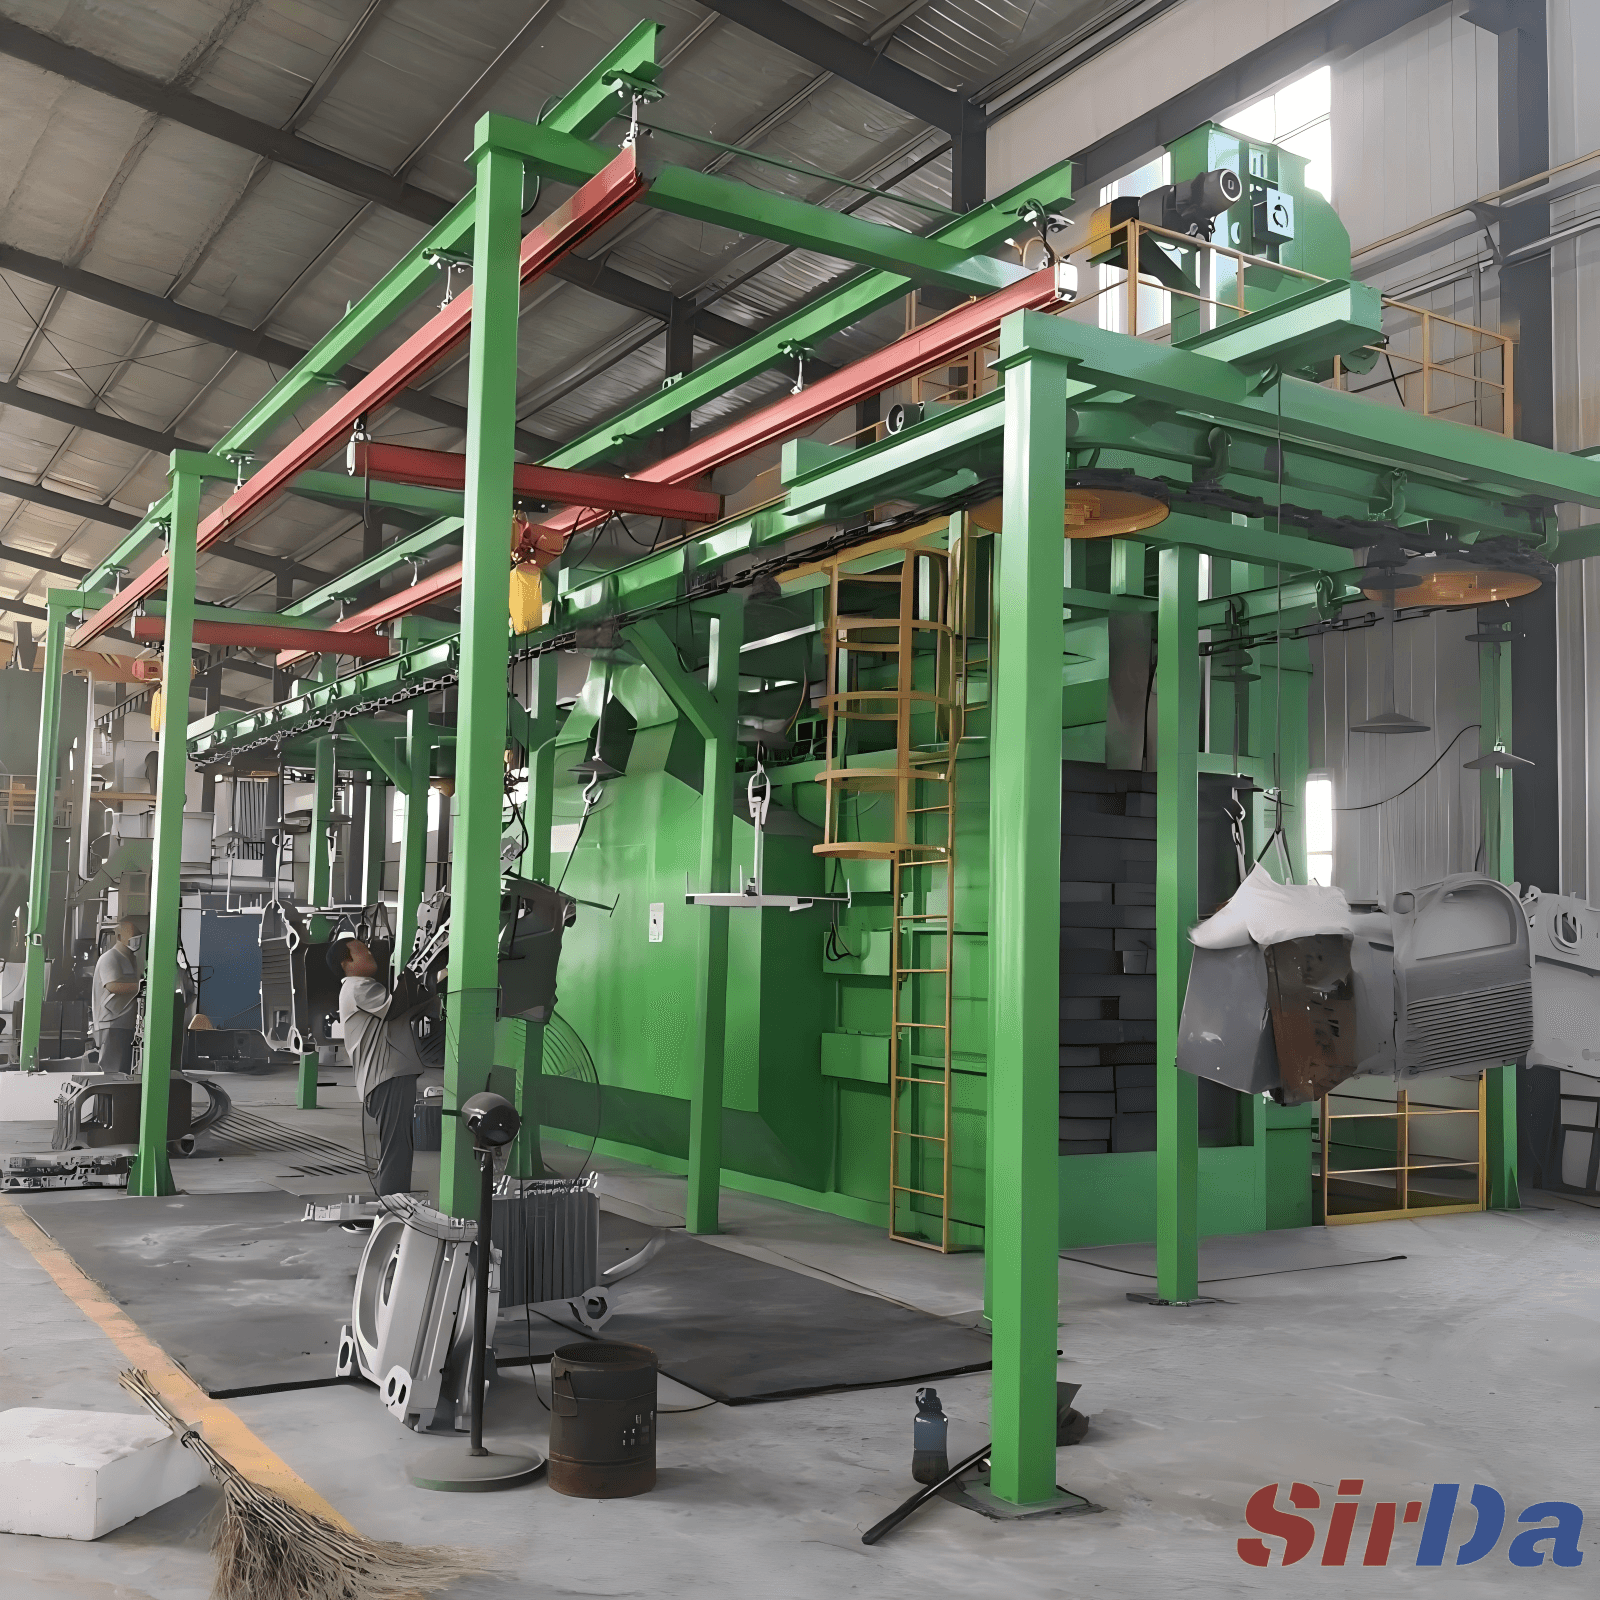
Buying a shot blasting machine is mostly a conversation about price, throughput and wheel count. Spare parts tend to enter the conversation late — after the machine has shipped, sometimes after the first breakdown. That is the expensive moment to discover that a blade set is a special order. This guide takes the opposite view: the right spares kit belongs on the purchase order, not on an emergency requisition. We look at which components actually wear, how to size quantities from your own duty cycle rather than a catalogue, and the receiving-day checks that turn a box of parts into usable uptime.
Buy the blast wheel as complete sets
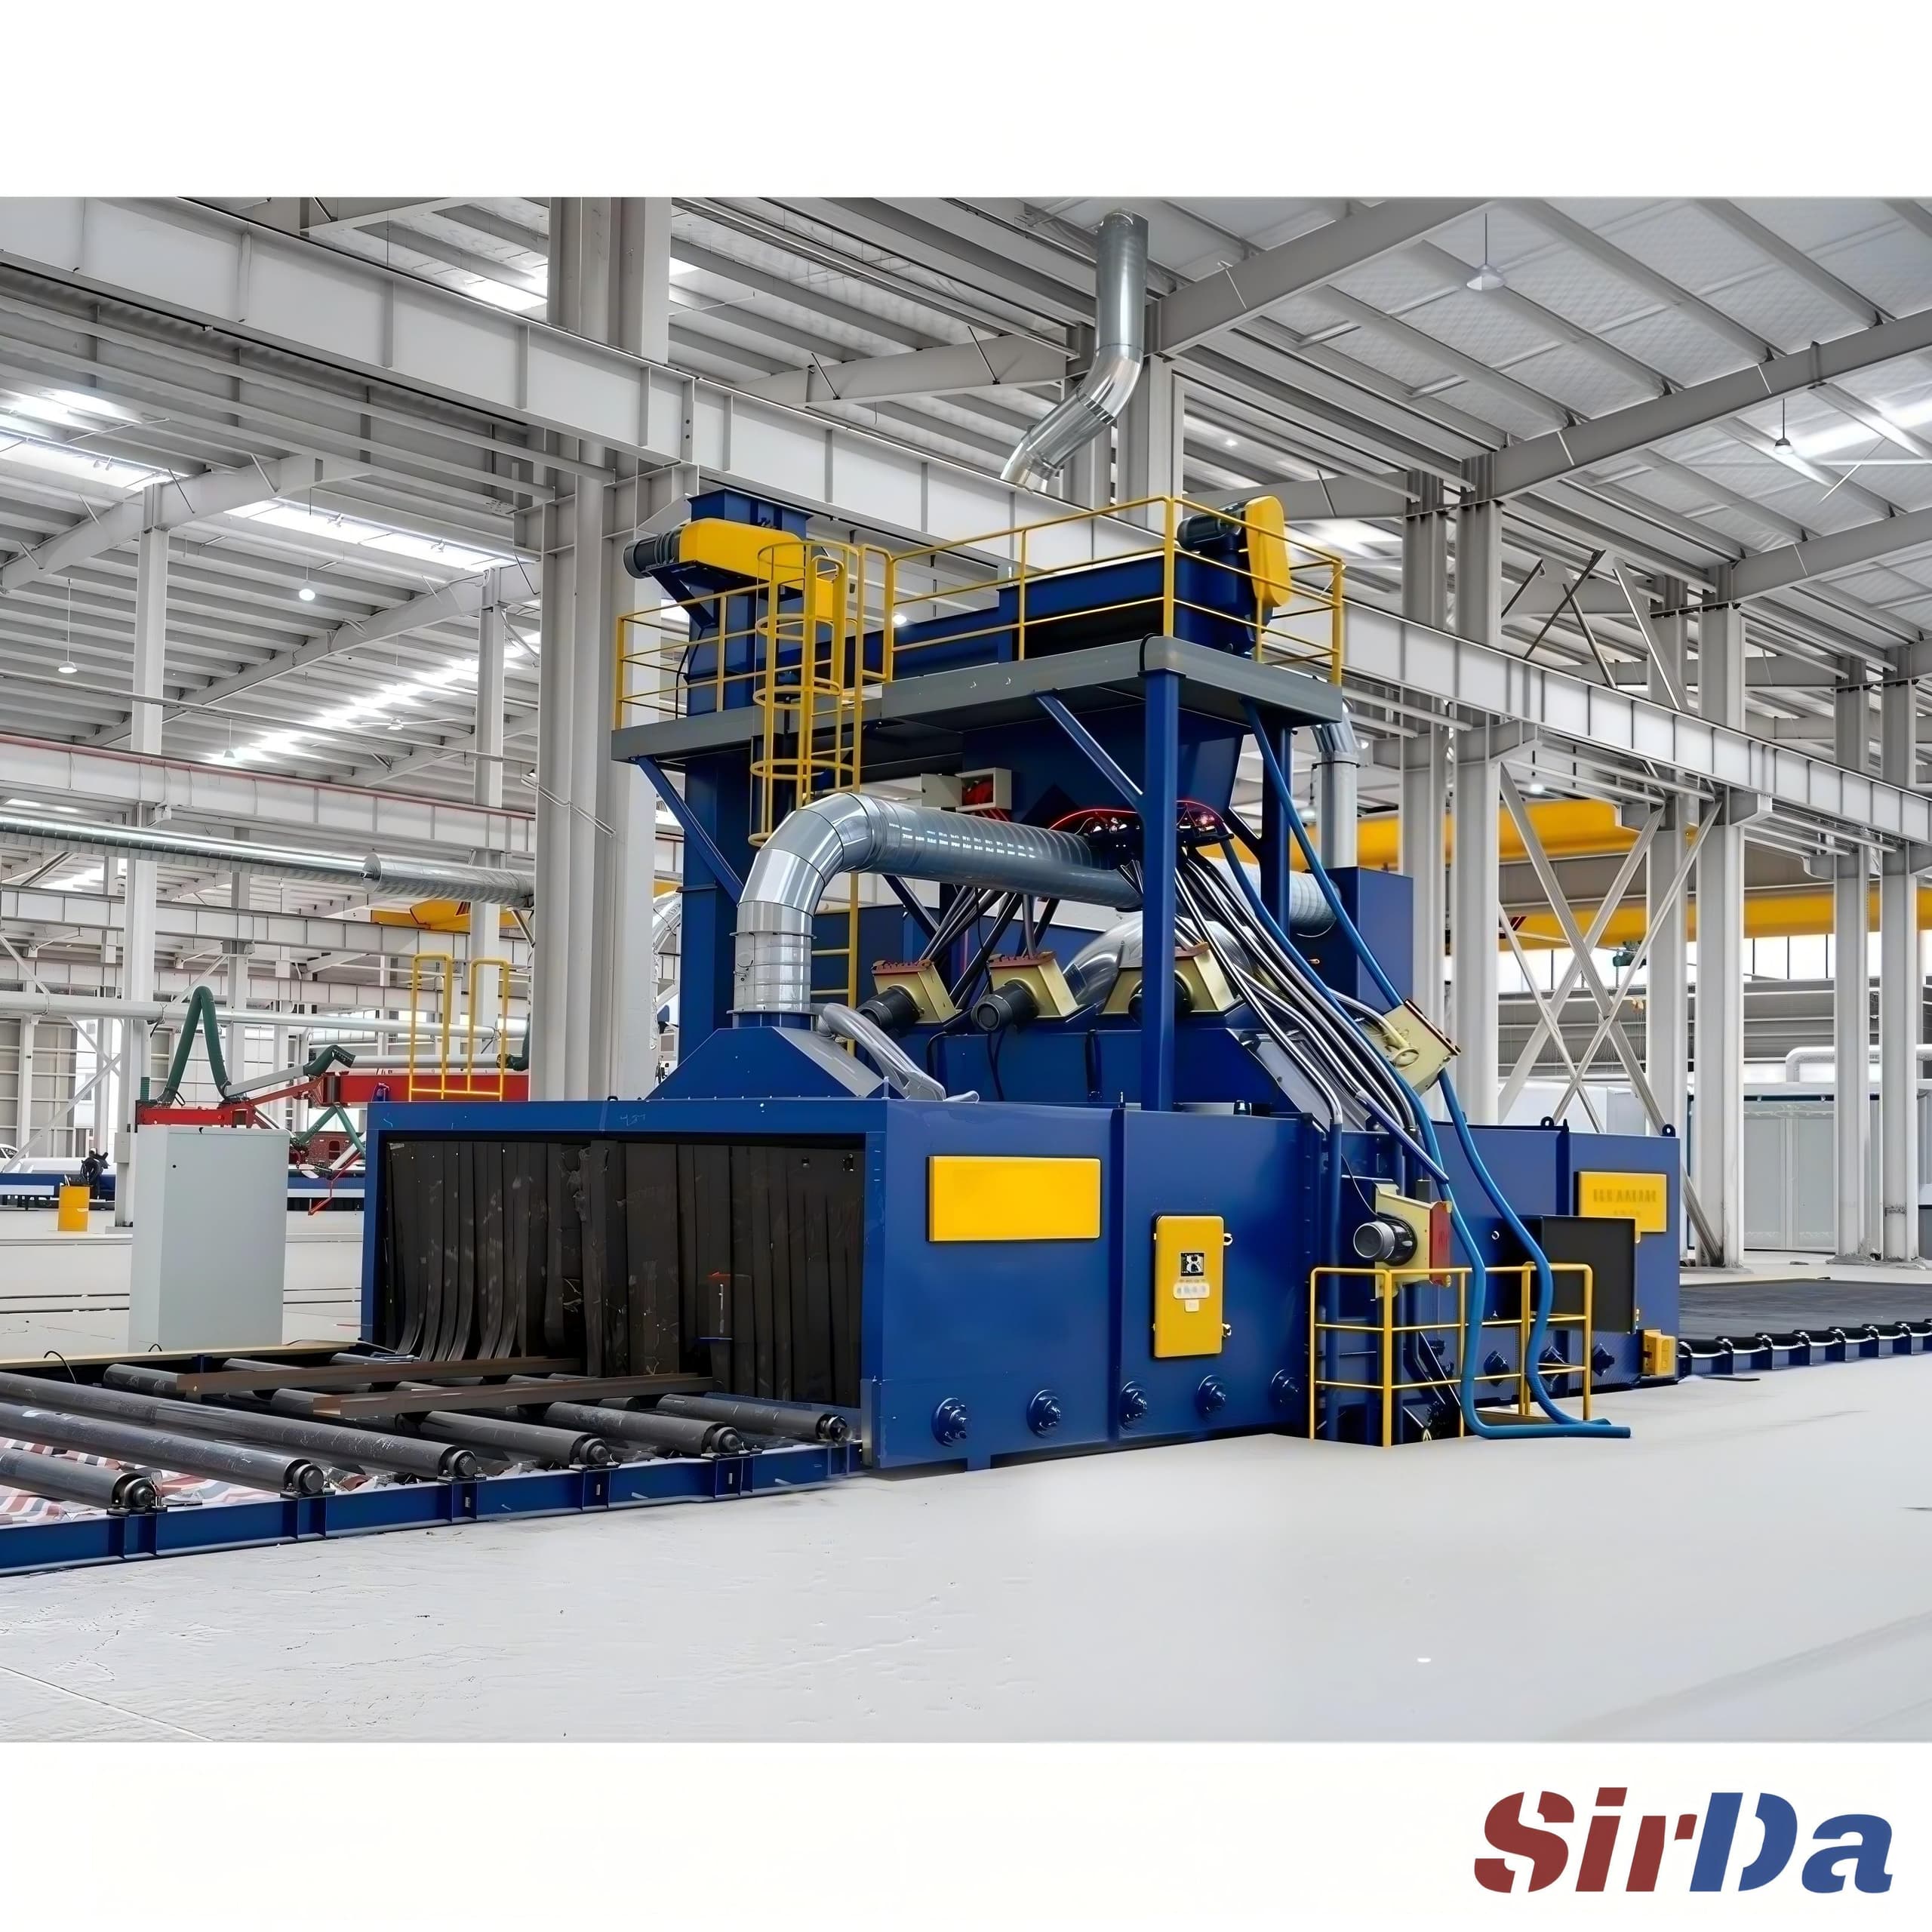
The wheel is where most replacement money goes. A set of blades, the impeller, the control cage, the distributor and the housing liners all wear at different rates, but they should be bought and changed as matched groups. Blades are the classic consumable: published ranges for clean steel shot sit in the hundreds of operating hours, and fall sharply with angular grit, sand carry-over or continuous round-the-clock running. Inspect weekly, and replace at roughly half the original tip thickness or at the first root crack — running a blade through to break-through turns a controlled consumable cost into a housing and liner repair.
Two rules matter more than the alloy grade. First, replace blades as a full matched set, never three of eight, because a mixed set cannot be balanced inside the tolerance the wheel was designed for and will show up as vibration and rising bearing temperature. Second, replace the cap nuts and lock washers every time the set comes off; a fastener that has been torqued twice has already lost the preload that keeps eight blades from shifting at speed.
Watch the symptoms, not the calendar. Cleaning time creeping up over weeks, a drop in wheel current, or a blast pattern that narrows points to blade and impeller wear. Stripes of uncleaned surface point to a control cage window worn oversize or rotated off its mark. A hot spot that drifts after adjustment usually means the cage is aiming at a liner edge rather than the centre. A broken blade is a safety event, not just a quality problem — which is why a spare set in the stores cage is cheap insurance.
Size quantities from duty cycle, not a catalogue
Catalogue life figures are useless without the duty class attached. Before you order, write down your part mix, media type, hours per shift and how many hours a year the machine will actually run — then multiply. Published figures for steel-media duty put blades in the hundreds of hours, impellers somewhat longer, control cages longer again, hot-zone liners in the thousands of hours or six to eighteen months, elevator buckets at twelve to twenty-four months, and cartridge filters at roughly twelve to fifteen months when the separator is healthy. Cut the aggressive cases: angular grit or heavy sand carry-over can shorten component life by forty to sixty percent. Ask the supplier for life figures measured on your duty, in writing. A vendor who cannot answer is quoting a catalogue, not an installation.
Media choice drives nearly every one of those numbers. Round steel shot peens and can survive two to three hundred reuse cycles in a closed loop; angular steel grit cuts faster for scale removal but accelerates wear on wheels, ducts and separator parts and generates more dust. The separator, not the media supplier, controls consumption: a healthy circuit runs near 0.2–0.4 kg per square metre, while a badly tuned one can climb to 0.8–1.2. For a first order, a practical kit covers the items whose absence stops the line:
- One complete matched blade set with cap nuts and lock washers
- One impeller and one control cage, matched to your wheel diameter and rotation direction
- One hot-zone liner set — top, side and end plates
- One elevator belt with a spare set of buckets
- One full set of dust collector cartridges or bags
- Rubber seals and door gaskets, plus feed-duct and cap-nut spares
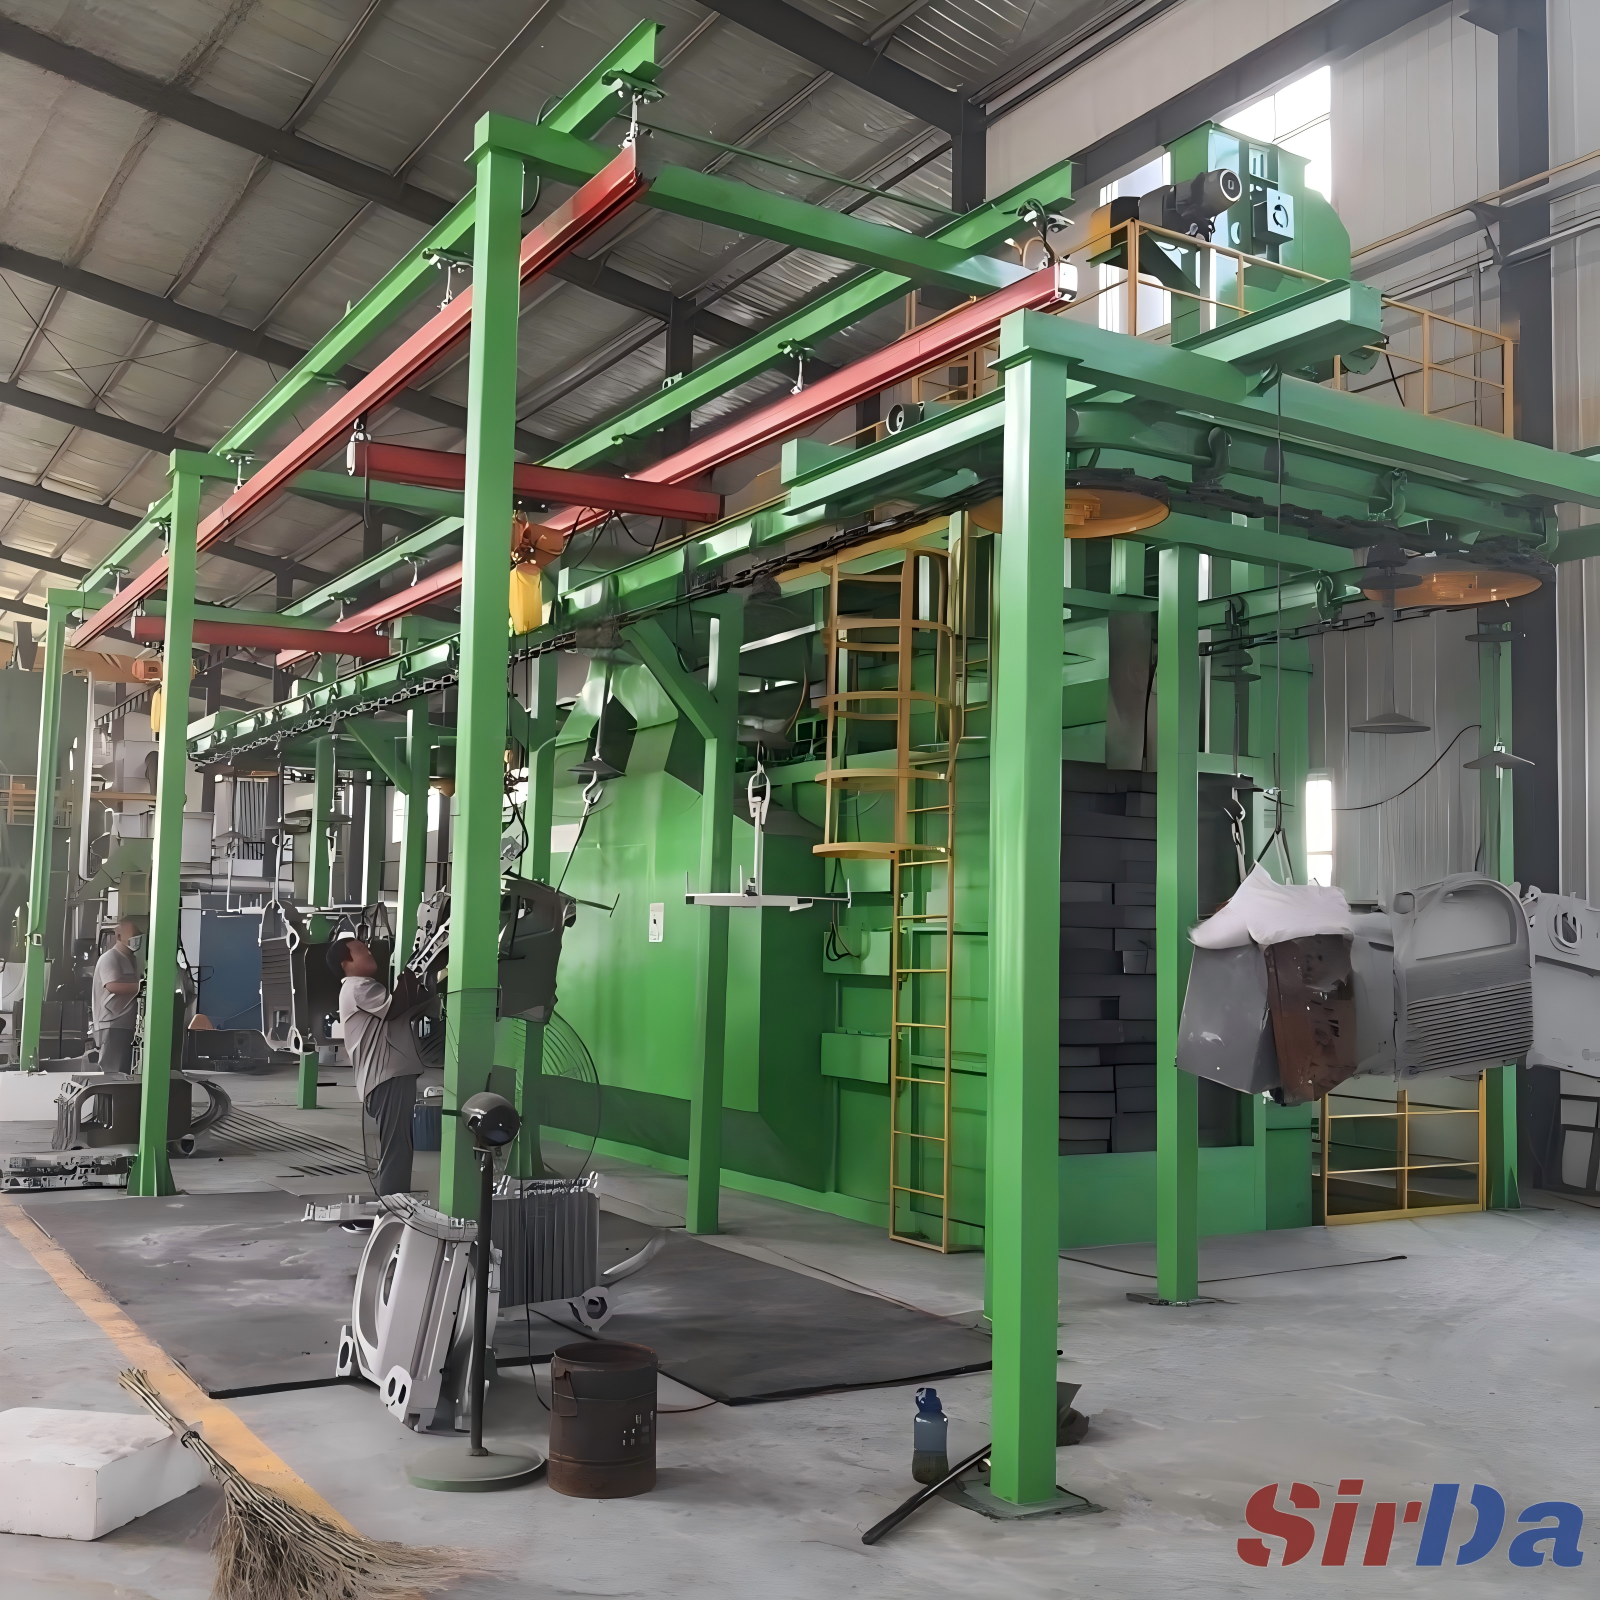
The reclaim loop and dust collector are quiet consumers
The parts that fail slowly are the ones that cost the most in unplanned stops. Elevator belts slip or misalign after extended service; separator screens clog and let fines recirculate; screw conveyor flights and feed ducts thin at the bend. None of these stop the machine instantly — they degrade cleaning quality and raise media consumption until someone notices. Put them on a weekly inspection route, and track consumption as a metric: if replacement media per tonne or per square metre rises without a change in production, check seals, separator settings and worn components before you blame the abrasive.
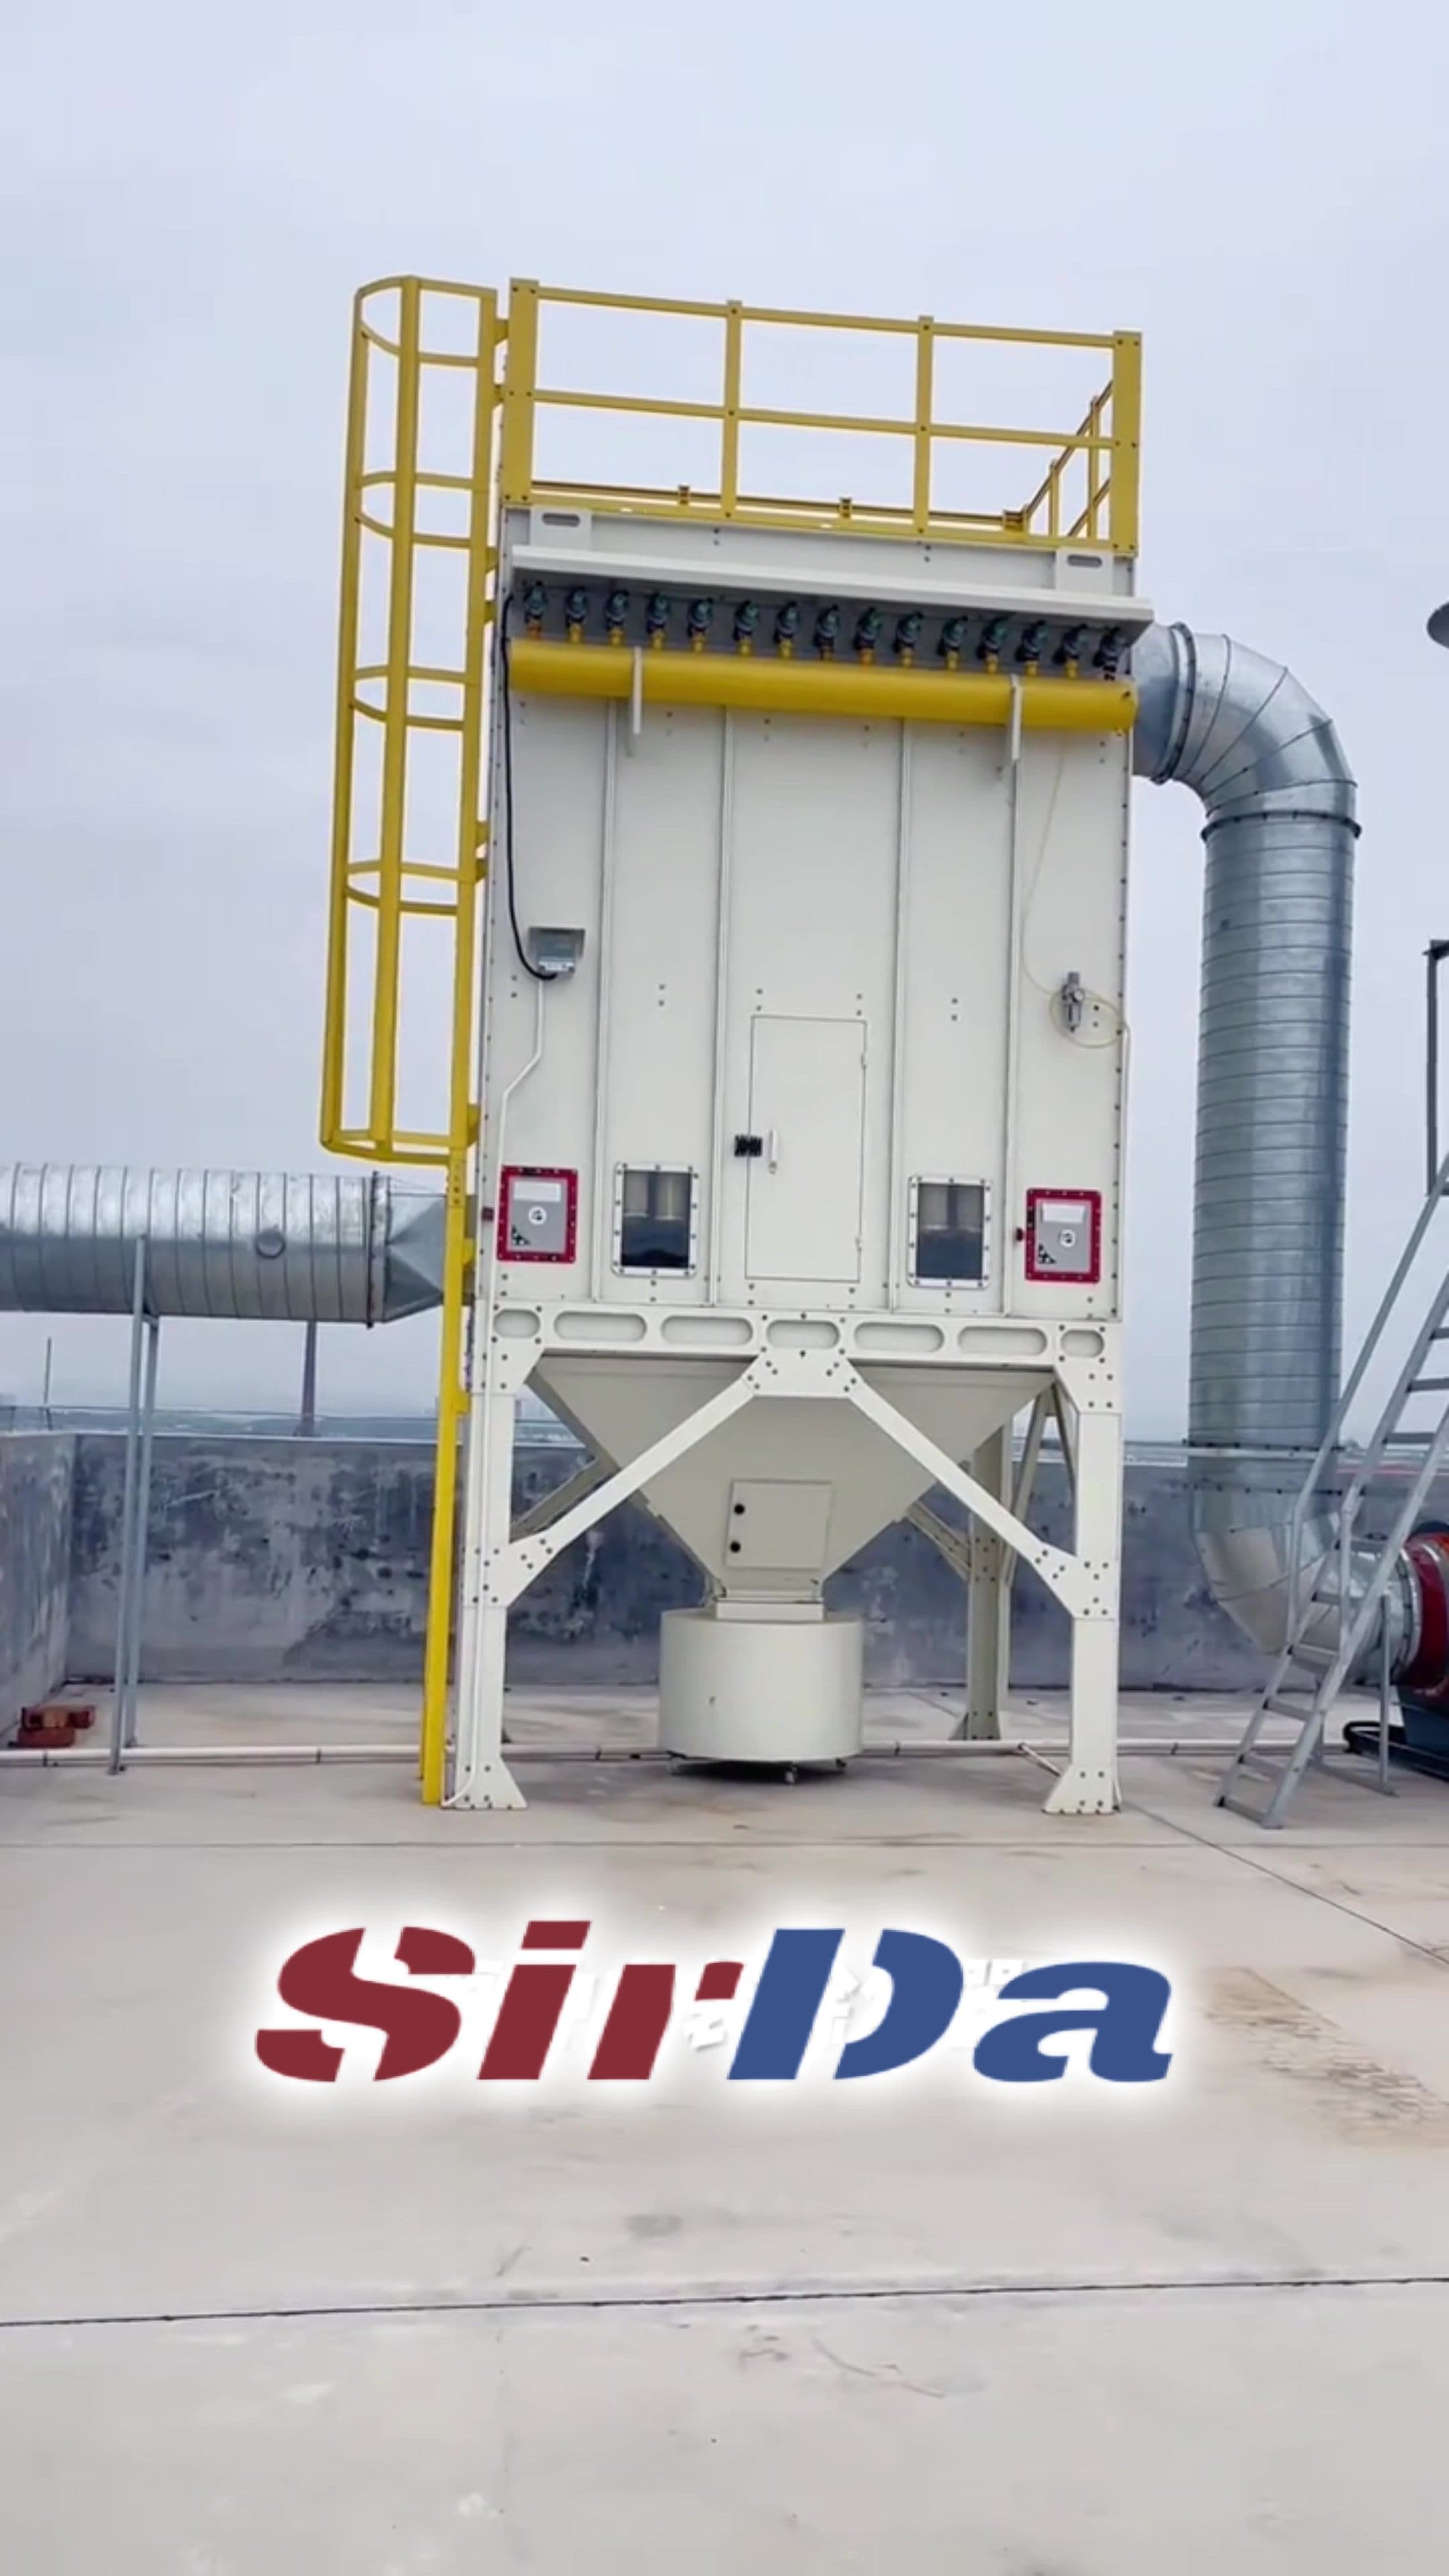
Dust collection deserves the same discipline. Cartridge filters are commonly specified at MERV 14–16, with nanofibre or PTFE coatings for fine or hazardous dust; the collector should be sized for the airflow your wheels need, with an outlet concentration stated in the contract. Fit a differential-pressure gauge and read it daily. A stable reading after each reverse pulse means cleaning is keeping up; a baseline that climbs week after week means blinding, moisture, oil or an undersized collector; a sudden drop usually means a torn element or a leaking seal. Pulse air must be dry and oil-free — wet air blinds media — and remember that one failed diaphragm valve leaves a whole row of elements uncleaned. Replace elements as a full set so new and old media do not share airflow unevenly. Filter cake is industrial waste; if your workpieces carry heavy-metal coatings, check its classification before contract award.
Do a receiving-day drill
The best spares kit in the world is useless if it does not fit. On the day the machine arrives, before commissioning, run through a short checklist with the parts physically in hand:
- Confirm wheel diameter, blade count and rotation direction against the quotation and the parts labels.
- Verify blade sets are weight-matched and that a balance report and material certificate came with them.
- Check the control cage window dimensions and that the clamping plate is included.
- Time two fitters changing one blade set with the tools actually on the shift; over 45 minutes means the access, lighting or toolkit is wrong.
- Record the torque table and the initial differential-pressure baseline in the machine log.
That drill does two things. It proves the parts fit before you need them at speed, and it gives you a real changeover time to plan maintenance around. Wear-part life is a specification item, not a hope — hold it to the same standard as cycle time and cleanliness grade. To match a spares package to your own part mix and duty cycle, start with the SIRDA machine range and bring your part envelope to the conversation.